
This guide will explain how to set up a new desktop PC and install Parmanode.
Community Video Guide
Step 1: The Computer (Linux, Mac, or Pi)
You can take an old PC with any operating system on it and start fresh with Linux, or buy a refurbished cheap desktop computer.
You could also use a Mac (see steps 2 & 5), or a Raspberry Pi 4 or 5.
You need a monitor to follow this guide. If you want to set up Parmanode without a monitor, you’ll need my next guide (coming soon).
Apart from a monitor, you’ll need a keyboard and mouse. Note, this computer is NOT meant to be air-gapped – node computers must have internet access. For an air-gapped computer (used for Bitcoin private keys, as an alternative or adjunct to hardware wallets) see this guide.
Step 2: The Drive
Most of today’s cheap refurbished desktop computers won’t have a terabyte of storage on the internal drive.
You can buy an external SSD 2Tb (I like the Samsung T7)
Step 3: The Operating System
Parmanode works best on Debian based Linux. It has been tested on Debian, Ubuntu (child of Debian), or Linux Mint (child of Ubuntu).
The OS I recommend for most people is Linux Mint (Cinnamon edition), and this guide will be based on that. I like this version of Linux because it rarely has given me issues, and it feels similar enough to Windows (pre Win10) for most people, so the transition is a bit easier.
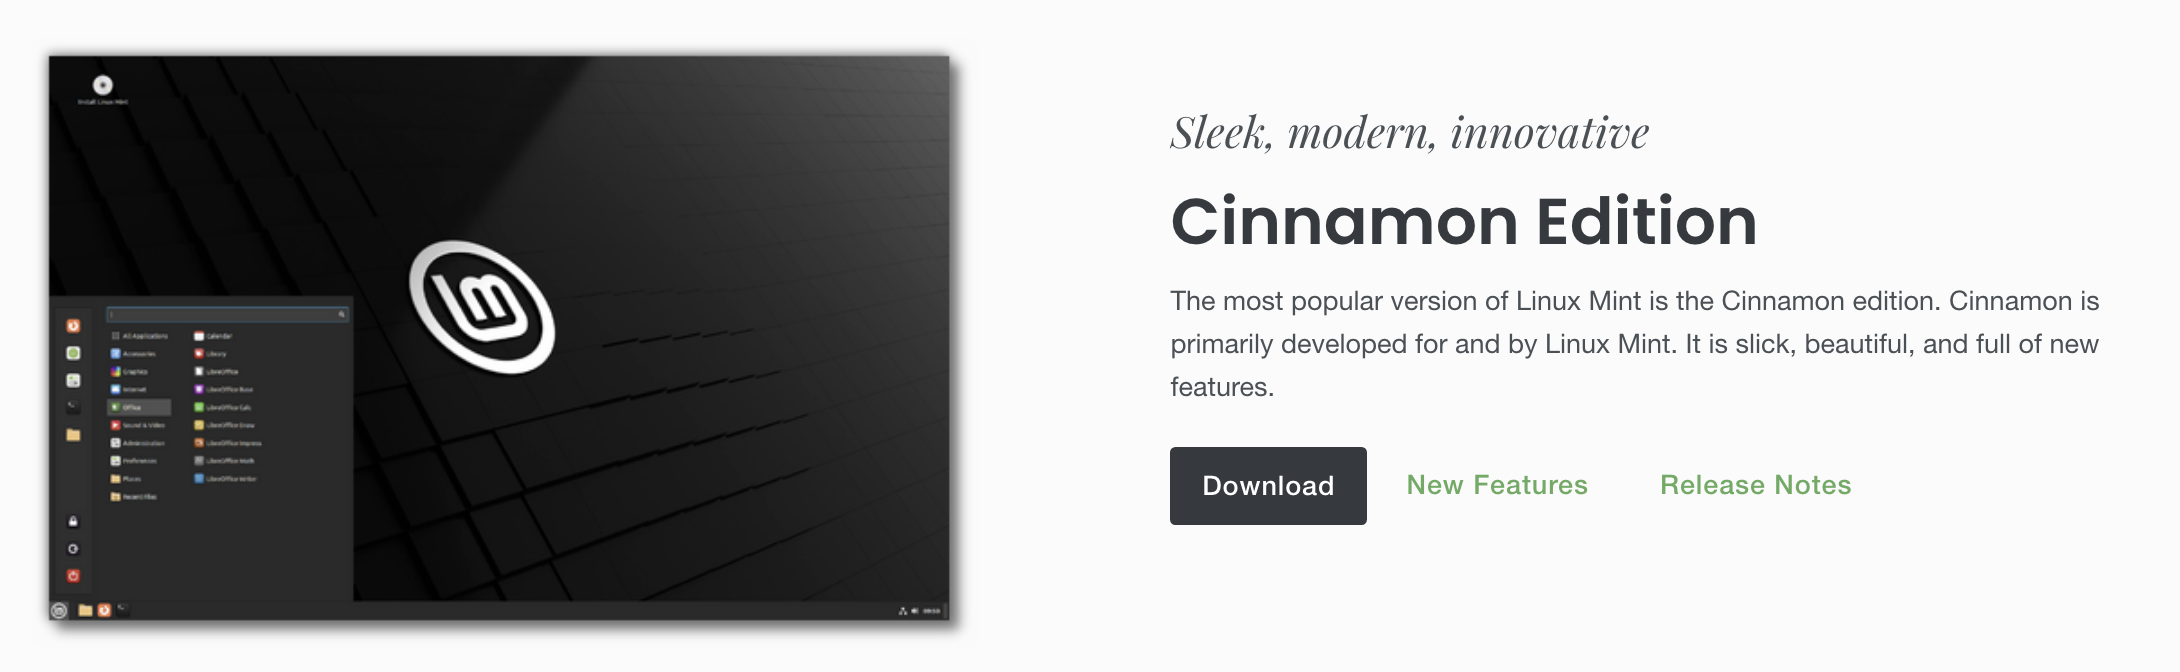
On your everyday computer, navigate to linuxmint.com
Click the download link, and then the next download button next to “Cinnamon”:
On the next page, you can scroll down to see the mirrors (mirrors are various servers that hold a copy of the file we want). You can verify the download using SHA256 and gpg (recommended), but I’m going to skip explaining that here as I have written guides on this already.
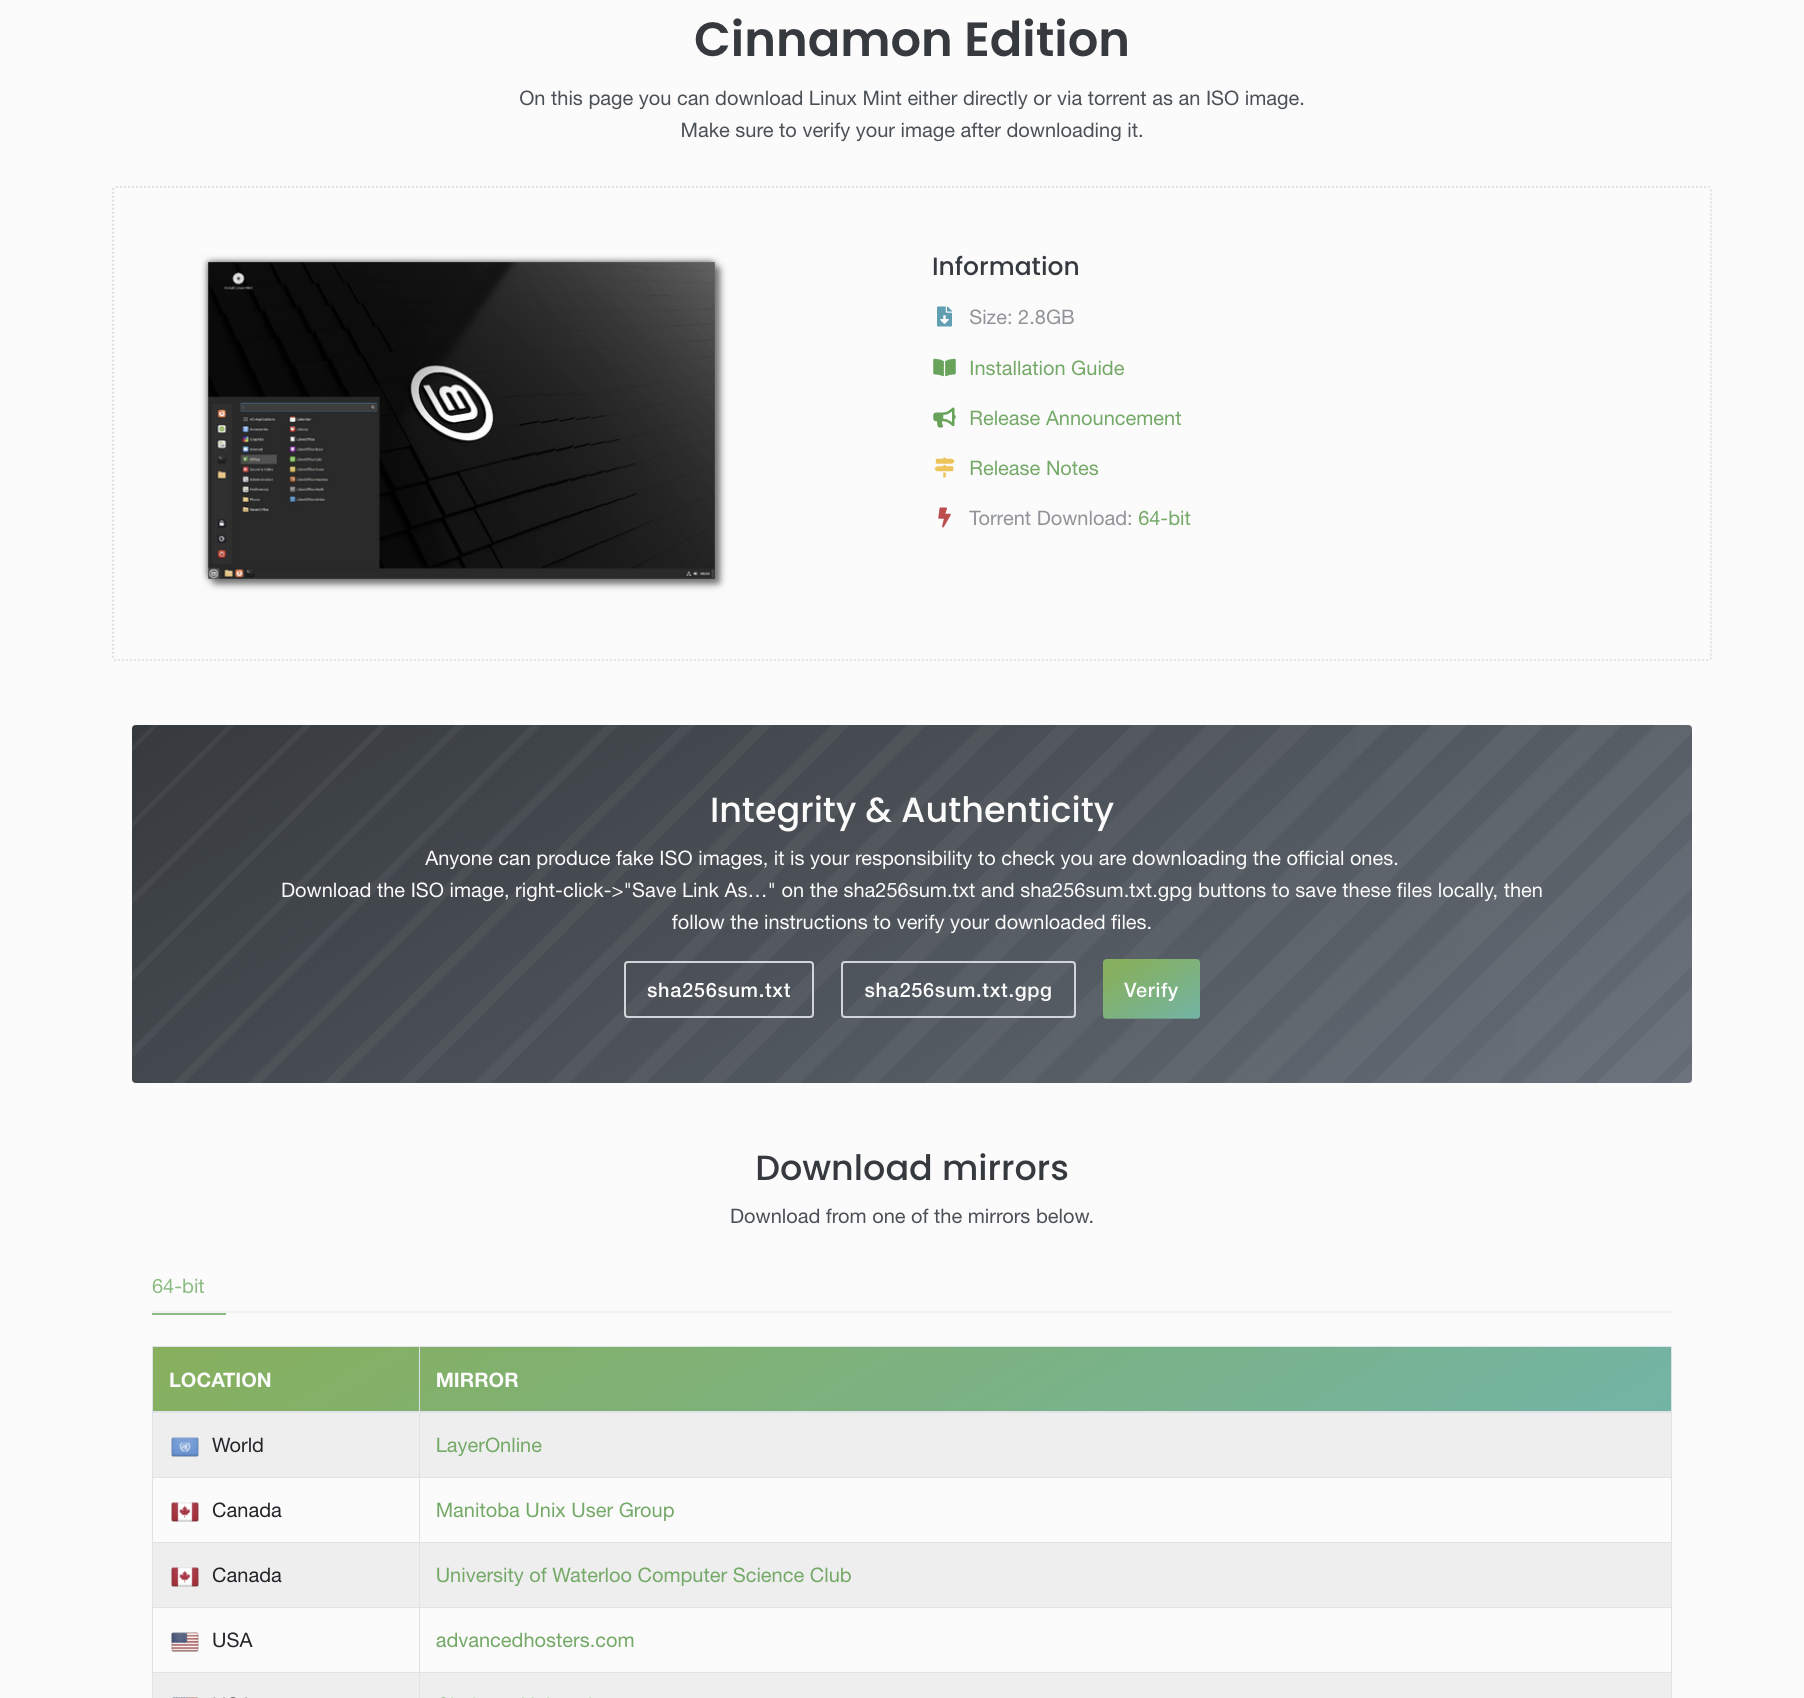
Choose a mirror that’s closest to you and click its link (the green text in the mirror column). The file will begin downloading.
Once it’s downloaded, you can flash the file to the external SSD 1Tb drive (it’s used once for this purpose, and then permantently for Bitcoin blocks later) and make it bootable. To do this, the easiest way is to use Balena Etcher. Download and install it if you don’t have it.
Then run it:
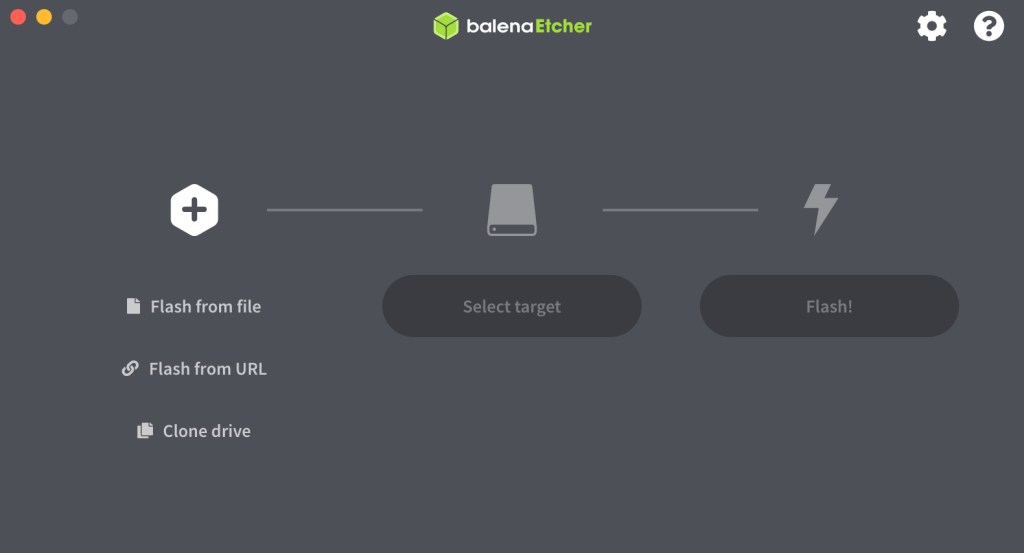
Click flash from file, and select the Linux Mint file you downloaded.
Then click Select target. Make sure the external drive is plugged in and make sure you are selecting the correct drive, otherwise you may destroy the contents of the wrong drive!
After that, select “Flash!”. You may need to enter your computer password. When it’s completed, the drive is likely not going to be readable by your Windows or Mac computer because it has been transformed into a Linux device. Just pull it out, no need to “eject”.
Step 4: Preparing The Target Computer
This is the hardest part.
Turn on the new computer, and while it is powering up, hold down the BIOS key. This is typically F2, but it could be F1, F8, F10, F11, F12 or Delete. Try each one until you get it, or search the internet for your computer’s model and ask the right question.
Eg “BIOS key Dell laptops”.
Every computer will have a different BIOS menu. Explore and find which menu allows you to configure the boot order. For our purposes, we want the computer to try to boot from a USB-connected device (if there is one connected), before trying to boot from the internal hard drive (otherwise the already installed operating system will load). Once you set that, you may need to save before exiting or it may save automatically.
NOTE 1: SOME COMPUTERS, PARTICULARLY NEW WINDOWS MACHINES HAVE “SECURE BOOT” ENABLED IN THE BIOS MENU. THIS NEEDS TO BE DISABLED, OTHERWISE, LINUX WILL APPEAR TO INSTALL AND AT ONE POINT GIVE YOU A “BAD SHIM SIGNATURE” ERROR.
NOTE 2: SOME BIOS PROGRAMS WILL NOT LET YOU MAKE SOME EDITS (AND WON’T EVEN TELL YOU WHY) UNLESS YOU ENABLE A BIOS PASSWORD. IF YOU NOTICE YOU CAN’T MAKE SOME SELECTIONS, LIKE DISABLING SECURE BOOT OR CHANGING THE BOOT ORDER, ENABLE A PASSWORD, THEN TRY AGAIN.
Reboot the computer and it should load from the USB drive. We can then install Linux on the internal drive, and if you have Windows on it, you can remove it for good (or keep it in parallel).
When you get to the following screen, select “OEM install (for manufacturers)”. If you instead choose “Start Linux Mint”, you’ll get a Linux Mint session loaded off the memory device, but once you shut down the computer, none of your information is saved – it’s basically a temporary session so you can try it out.

You will be taken through a graphical wizard which will ask you a number of questions that should be straightforward. One will be Languange settings, another will be your home internet network connection and password. It’s important to continue the installation with the internet connected, or you are likely to get errors.
If prompted to install additional software, it’s safe to reject it. When you get to the question about the installation type, some people may hesitate – you need to choose “Erase disk and install Linux Mint”. Also, do not encrypt the drive and do not select LVM (high risk of errors).
You will eventually get to the desktop. At this point, you are not quite finished. You are actually acting as the manufacturer (i.e. someone building a computer and setting up Linux for the customer). You need to double click the desktop icon, “Install Linux Mint”, to finalise it.

Remember to remove the installation external drive, and then reboot.
After reboot, you’ll be using the operating system for the first time as a new user, and will go through the setup procedure again (setting a username and password, etc).
Step 5: Install Parmanode
Now that your computer is set up and you’ve logged in to the desktop environment, open the Terminal application (black icon on the taskbar) and type:
curl https://parmanode.com/install.sh | sh
This will run an update, install GIT, and install Parmanode to your internal drive, and also make an icon on your desktop.
Double click the run_parmanode icon to start Parmanode. Unfortunately, this doesn’t work on some systems. As a backup (and in my opinion, a better way), you can open terminal and type “rp” then <enter>; it doesn’t matter what directory you are in, “rp” works from anywhere.
You may get a password prompt – this is the one for the computers’s login. For some Linux systems, when you type the password, the curser does nothing (for security). Just type it in with such feedback and hit <enter>.
Read the intro page and instructions page.
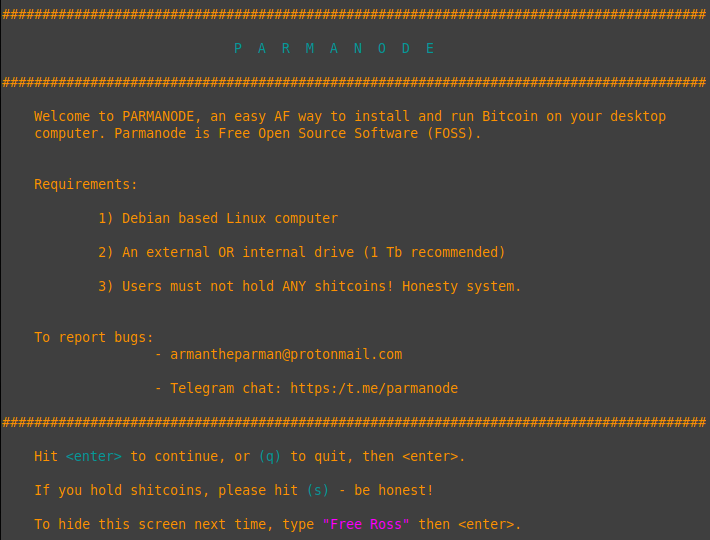
You can then select “Install Parmanode” – it’s quick, litterally seconds.
Step 6: Install Bitcoin Core/Knots
Next, you can install Bitcoin – READ CAREFULLY, follow the prompts and plug in your external SSD drive when prompted (the one you used to install Linux) – that will be the Bitcoin block data.
Parmanode will download Bitcoin and verify the download for you. You can also verify it yourself later if you choose.
Once Bitcoin is installed, it should automatically start syncing the bockchain in the background, and is set up to restart syncing automatically should you restart your computer.
You can see its progress by going to the “use” menu, then “bitcoin”, and at the top it will show you if Bitcoin is running.

You can also select “log” to see a real time view of the log file, which will display the latest outputs of bitcoin, including the latest block or any errors.

You can shut down Parmanode, and Bitcoin will continue in the background.
I’ts also safe to turn off the computer, Bitcoin will start up again when you boot up.
If you want to import or export Bitcoin block data from another installation, from the main menu, go to tools and explore the option “Bring in a Parmanode drive” or “Block data compatibility with other computers”.
Step 7: Install Other Sofware
There are many other programs you could install. A usefull setup would be installing electers (this is an electrum server and takes a day or so to sync), and then a wallet – Parmanode will automatically connect your wallet to either electsrs or bitcoin directory; you have options.
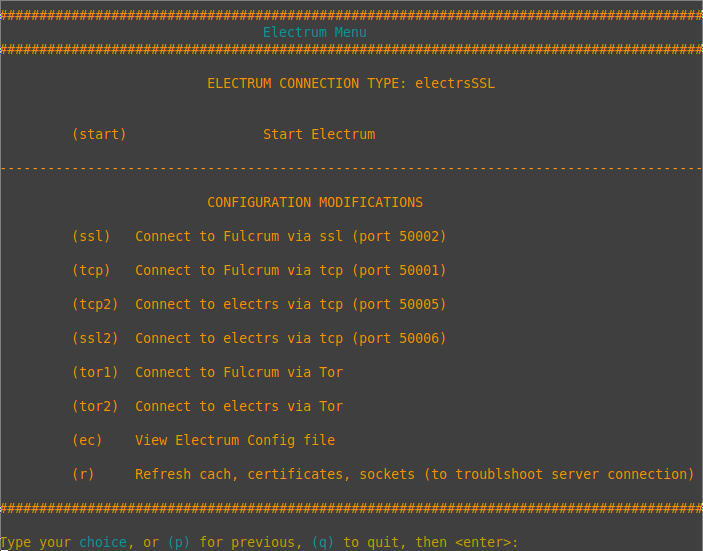
In the above example, Electrum Wallet is set up to connect to electrs vis SSL, but other options are available. When selecting “start” the wallet will pop up and be connected to electrs (electrs is connected to Bitcoin Core).
For those who want to use a less techy wallet, ie something esier to use, there is Sparrow or Specter wallets available also.
Step 8: Enjoy

ParmanodL (Raspberry Pi)
A ParmanodL is a Raspberry Pi computer with Raspberry Pi OS configured to run Parmanode software.
Installing is very easy. Starting on a Mac or Linux computer, you run this single line command in the Terminal and magic happens…
curl https://parmanode.com/get_parmanodl_installer | sh
The Magic:
- It will download Raspberry Pi OS image, make some changes to it (like adding Parmanode and other little things to make the experience better)
- Then it will prompt you to put in your microSD card; it will flash the image to the disk, then prompt you to put the disk in the Pi.
- You’ll insert the microSD, attach an external drive (1TB SSD is ideal), plug in the ethernet cable, and power it on.
- Coming back to the first computer, you’ll see an icon on the desktop – that’s a script that will allow you to log in to the Pi from that computer and manage parmanode (you could also just attach peripherals to the Pi and use it like a regular desktop computer).
Too hard, just sell me one ready-made
Links
Parman’s Bitcoin Inheritance Planning
Tips
On-chain or Lightning